 |
 |
||||||||||||||||||||||||
"Are Pencil Flower Drawings
|
|||||||||||||||||||||||||

|

 Pink flowers
  Blooming flowers
  Pink petunia
|
 Red flower
  Pink tulips
 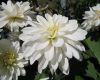 White flowers
 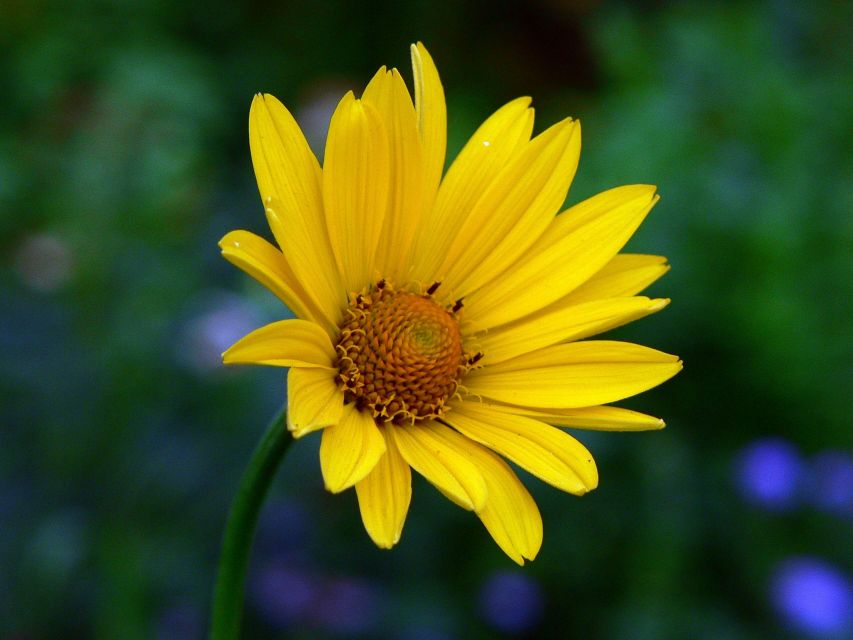 Yellow flower
 If you want to learn to draw flowers, here are some easy step-by-step techniques.
Pencil Flower Drawing - Step 1.
Usually the technique of drawing involves the use of finer lines. So, the ideal choice of paper is a smooth surface paper. You can start by doing a sketch drawing in outline form, first delineating the flower petals, and finally the leaves (if you want to), using a sharpened HB grade graphite pencil.
Pencil Flower Drawing - Step 2.
With a 2B grade pencil, indicate light tones, using lines on the leaves to rended shadow areas. With short, horizontal strokes. Add light tones to the left or right side (depends on where your light source is) of the flower as medium gray tones to the opposite side by using appropriate pressure. Draw around the flower petals and leaves, silhouetting them against the background.
Pencil Flower Drawing - Step 3.
Draw the background using random pencil strokes, apply with different pressure to create tonal variation. You can now carefully blend all tones using this technique, sometimes create the tones by rubbing with your finger. Blacks were added with a 4B grade pencil. Use random strokes on the dark side of the flowers, some of them drawn over one another in a crosshatch effect. Create the inner flower parts texture with inside out curved strokes.
Pencil Flower Drawing - Step 4.
For the darkest tones, use a 4B grade graphite pencil. Add black tones in the shadows from the leaves, and tone down white areas in the background by drawing over them. Use hatched tones to darken the leaves and deepen the shadows.
Get the idea?

Easy Oil Painting Techniques
Are you really into drawing flowers? Learn how to paint photo realism flowers the easy way! This 400 year old technique will simply amaze you! For Free! Come on give us a click!
Found Your Favorite Pencil Flower Drawings? Share It Here!
Do you have a great tip or idea about pencil flower drawings? Share it! You can share your video too.
Tips to upload your video:
Goto YouTube.com or Metacafe.com. Signup (if you're not a member yet). Upload your video. Once published, copy the embed code and paste it in the text box below.
Want some more?
I update Pencil-Drawing-Idea.com frequently. So, please subscribe to my monthly newsletter. It tells you each month about the new information that I have added, including interesting drawing ideas and favorite drawings by other artists.
| ||||||
Otherwise, you can subscribe to my Drawing Blog
(no e-mail necessary), right-click on the orange RSS button,
![]() ,
copy and then paste the URL into your RSS reader.
,
copy and then paste the URL into your RSS reader.
If you are not sure what RSS and blogging is all about, click here... What's an RSS Feed? Or click on the My Yahoo! button or My MSN or Add To Google button if you keep a personalized home page there. Once you start, you will be amazed at what RSS can do.
Enjoy... this is fun!
Click here to look at other flower drawings such as rose pencil drawings.
Click here to look at Hawaiian flower drawings such as Hibiscus flower pencil drawings...
Click here to look at other Drawings of flowers
Return from Pencil Flower Drawings to Pencil Drawing Home Page
Follow & Like Us
![]()
![]()
![]()

What Pencil Drawing Topics Are You Looking For Today?
E-Books
Download free e-book on "The Correct Way Of
Drawing Eyelashes".
Get this highly acclaimed 'The Practice and Science of Drawing' e-book.


Learn how to sketch the fun way!
Your Drawing Activities
Upload, Share & Comment: Your Drawing Space
Use the search tool below:

Post Your Comment
Do you have any comment or suggestion on our site? Post your comment...
[
?] Subscribe To
This Site


Enjoy This Site?
Then why not use the button below, to add us to your favorite bookmarking service?
This Site
Then why not use the button below, to add us to your favorite bookmarking service?

Return to top
Copyright© Pencil Drawings 2007-2012.
Get High Ranking On Major Search Engines